

We were invited to use some or all of the fabrics she sent, as long as we used the solid at some point in each of the blocks, and were welcomed to supplement with a coordinating fabric as well. As luck would have it, I just bought some pieces from that collection a little over a week ago while visiting Pioneer Quilts in Happy Valley, OR.
So, my adventure began with an improv, wonky Ohio Star variation. Very easy to make, and rather flexible, so I thought I would share with you all:
*these measurements are for a 12" finished block*
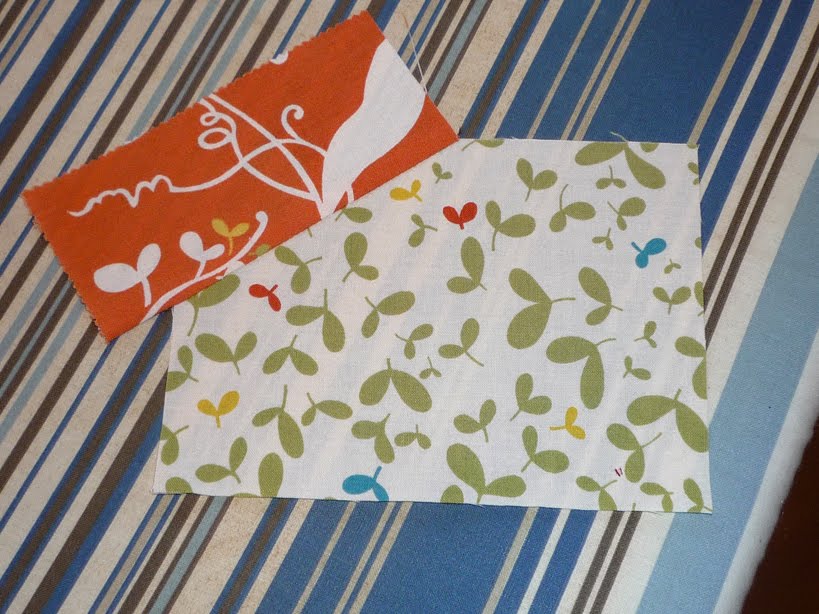
I began by cutting a center square 2.5" x 2.5". I decided that the solid would be an inner border around the center square, so from that I cut (2) 2" x 2.5" and (2) 2" x 5.5". And from the background fabric (for which I used one of the small-scale prints from the Chrysalis collection) I cut (4) 4" x 4" squares for the corners and (4) 4" x 5.5" rectangles to be the backgrounds of the star points.

Start by attaching the solid 2" x 2.5" rectangles to opposite sides of the center square. Press seams toward the "borders." Next, add the 2" x 5.5" rectangles to the remaining sides, to make a 5.5" square.

For the next steps I took a somewhat improvisational approach to a stitch 'n' flip flying geese block, making 4 units measuring 4" x 5.5" each. By starting with the background piece at that size, I could use various scraps to make up the geese, or star points.
Place a rectangle at an angle face down on top of the background block. Be sure that when you press it open it covers as far as the bottom corner of the piece. Stitch down using a 1/4" seam allowance.


Trim the corner from the background piece, using the seam allowance as your guide.

Press open.
Trim the edges flush with the background piece, maintaining the original 4" x 5.5" dimensions.

Repeat the last 4 steps for the other corner on the same side of the rectangle. Try to alter the size of the scrap piece and the angle at which you place it, for more variety on the star points.


Repeat these steps on the other (3) 4" x 5.5" rectangles.

Now, arrange all of your block units in a 9-patch formation, as pictured below:

Piece in horizontal rows, pressing seams toward the square units.

Sew the 3 rows together, press seams open and VOILA!

No comments:
Post a Comment